What you will need
- A Champion Cross nut insert or cross rivet kit.
- 2 spanners in the appropriate sizes.
- A hole to install the nut insert/cross rivet.
1.Preparation:
- Place a flat washer onto the bolt head. (as shown bellow)
- Place the nut into the set screw. (The Nut is one size larger then the bolt, this is required)
- Place a star washer into the bolt
- Finally thread the nut insert/cross rivet. (it should look like the picture bellow)

2. Installation:
- Place the nut insert/cross rivet into the hole. Ensure it fits snugly.
- Tighten the bolt with spanner (B) while holding the nut with the second spanner (A)
- Tighten until the nut insert/cross rivet compresses and grips the material.


3. Remove the Bolt:
- Once the nut insert/cross rivet is securely in place, remove the bolt. The nut insert/cross rivet should now be firmly attached to the material.

Before
After
4. Final Check:
- Ensure the nut insert/cross rivet is flush and securely fastened.
- Your nut insert/cross rivet is now ready to accept screws or bolts for your assembly needs.

Watch how to install a nut insert and cross rivet
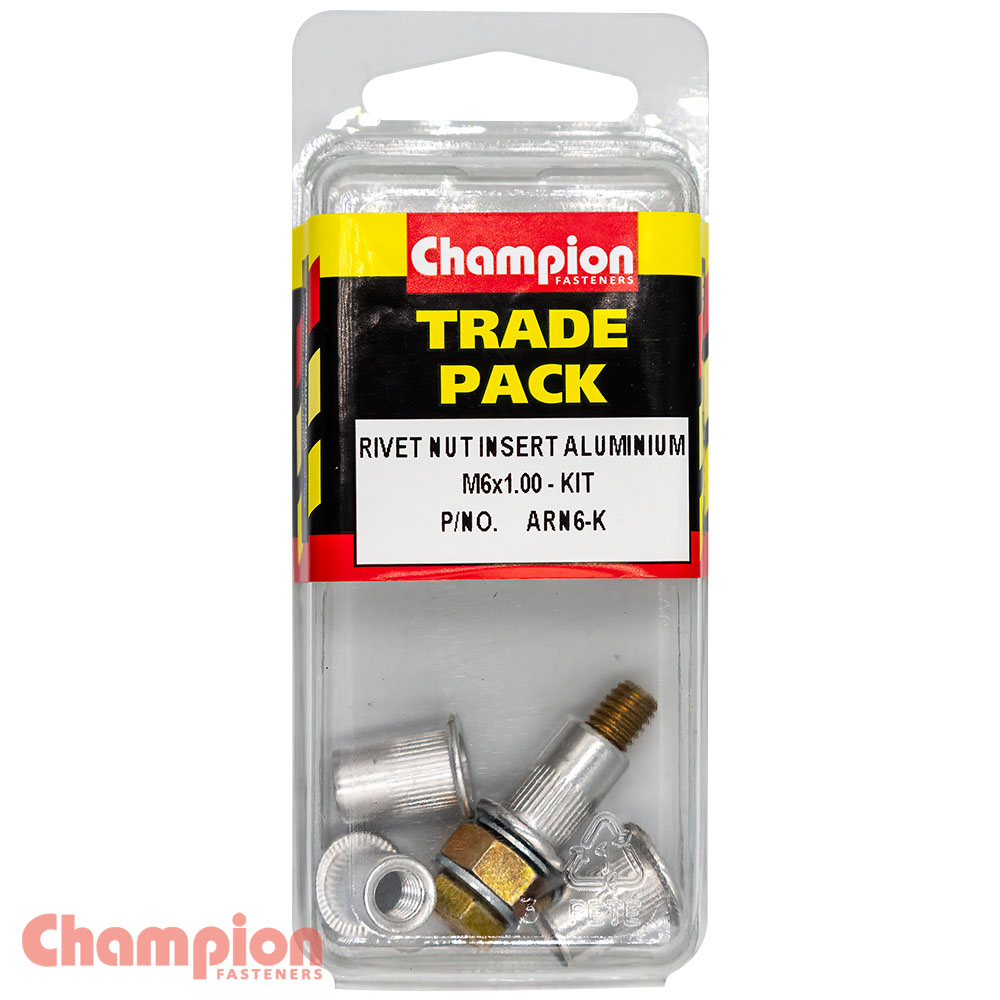
RIVET NUT INSERTS ALUMINIUM WITH NUT AND BOLT M6 x 1.00mm KIT
- M6 x 1.00mm
- Aluminium
- Reusable nut, bolt and washers
- Pack Size: 4